Data Management For Melbourne Computer Owners
At Mr IT, we pride ourselves on being at the forefront of technological advancements and data management strategies.
Serving the vibrant community of Melbourne, we are committed to providing our clients with up-to-date information and solutions that cater to their digital needs.
In this era of rapid technological evolution, understanding the nuances of data safety is more crucial than ever.
The digital landscape is in a constant state of flux, with new hardware, software, and best practices emerging at a breathtaking pace.
For the everyday user, keeping up can feel like a full-time job.
That’s where we come in. Our mission is to demystify technology, translating complex concepts into practical, actionable advice that empowers you to use your devices with confidence and security.
The Evolution of USB Data Safety
To appreciate the convenience of modern data handling, it’s essential to understand the technological landscape that shaped the old rules.
The cautionary tales of corrupted files and system crashes weren’t just myths; they were real risks rooted in the way older systems managed data.
The Bygone Era of USB Usage
There was a time, not so long ago, when yanking a USB drive from its port without following the “Safely Remove Hardware” protocol was considered a high-risk, almost reckless, action. This single click in the system tray was preached as the unbreakable commandment of data transfer.
Ignoring it could lead to a host of frustrating and potentially devastating problems: Word documents that refused to open, precious photos that vanished into the digital ether, partially saved project files, and, in the worst-case scenarios, the much-dreaded blue screen of death (BSOD) that signaled a critical system error.
These stringent warnings, found in tech manuals, online forums, and IT support guides, were not arbitrary. They were a direct response to a core feature of older operating systems known as write caching.

Understanding Write Caching: The Reason for the Ritual
To understand the risk, you need to understand write caching.
In the pursuit of speed and efficiency, operating systems like Windows XP and Windows 7 would use a clever trick.
When you saved a file to a USB drive, the system wouldn’t necessarily write it to the physical drive at that exact moment.
Instead, to make the computer feel faster and more responsive, it would copy the data to a temporary, high-speed holding area in your computer’s memory (RAM). This is the “cache.”
The system would then wait for a more opportune moment—perhaps when the processor was less busy or when enough data had accumulated—to perform the actual, slower process of writing the data from the cache onto the USB drive.
From your perspective, the “Save” progress bar would finish instantly, and you could continue your work. But behind the scenes, the data transfer might still be pending.
When you clicked “Safely Remove Hardware,” you were sending a critical command to the operating system: “Flush the cache.” This forced Windows to write any and all pending data from the RAM to the USB drive immediately.
Once the cache was cleared, the system would give you the green light—the “Safe to Remove Hardware” notification—confirming that all operations were complete and the drive could be physically disconnected without risk.
Pulling the drive out before this process was like pulling a cake out of the oven before it was finished baking; the results were predictably messy.
The Shift with Windows 10 and 11 For Computer Owners In Melbourne
As technology progressed, Microsoft’s engineers recognised that user behaviour and expectations had changed. The demand for a more seamless, intuitive experience was growing. This led to a significant but surprisingly quiet update in 2019, with the release of Windows 10 version 1809.
This update marked a pivotal turning point, fundamentally altering the default relationship between your computer and your external storage devices.
Microsoft changed the default policy for USB and Thunderbolt devices from the performance-oriented “Better Performance” mode to a safety-focused “Quick Removal” mode.
This change acknowledged a simple truth: for the vast majority of users, data integrity and convenience are far more important than a marginal increase in transfer speed.
Understanding Quick Removal vs. Better Performance For Melbourne Computer Owners
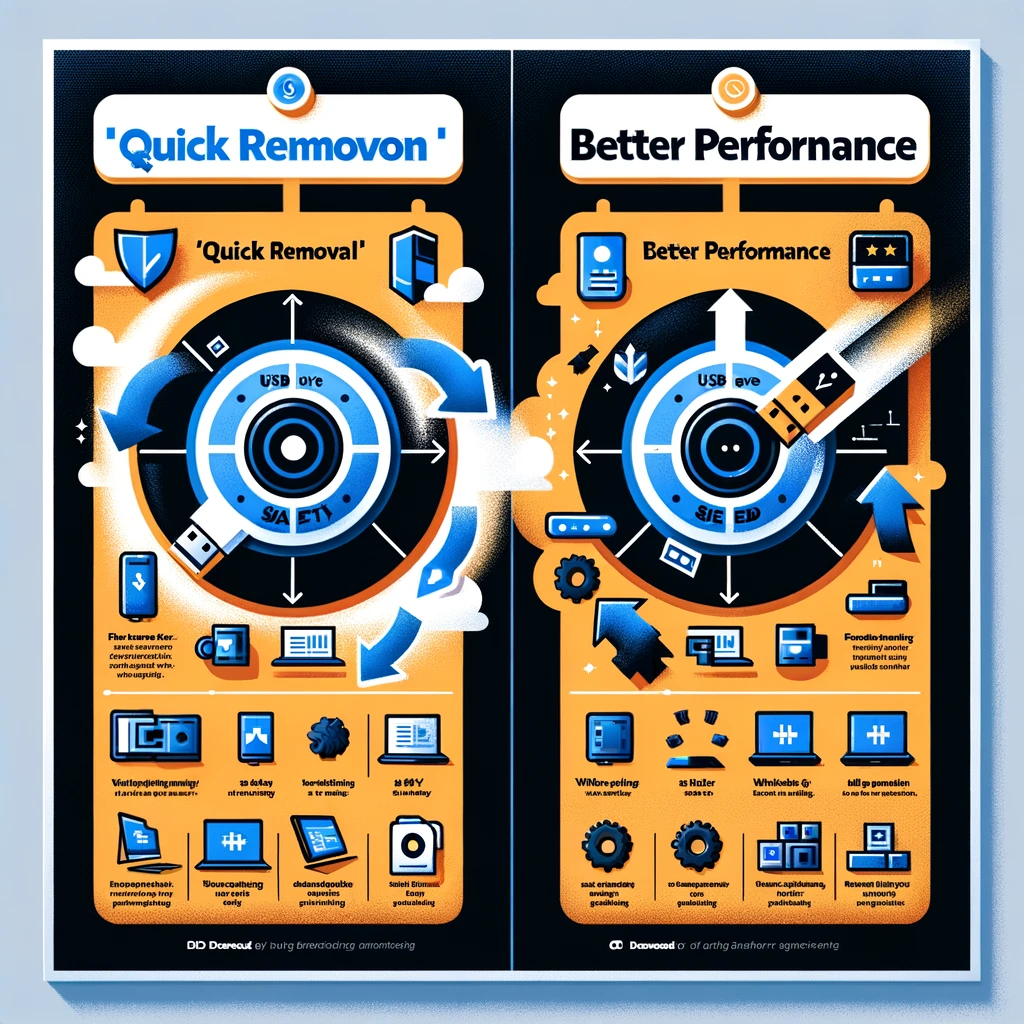
Modern Windows operating systems now offer you a choice, putting the control directly in your hands. Let’s break down what these two policies mean for your data.

Quick Removal: Convenience Over Speed
The “Quick Removal” setting is the default for any new USB drive you plug into a modern Windows 10 or 11 machine. It is a testament to Microsoft’s commitment to a safer, more user-friendly experience.
How it works: This mode disables write caching for the external device. When you drag a file to your USB drive or click “Save,” Windows performs the write operation immediately, or as close to immediately as possible.
It doesn’t hold the data in a temporary RAM cache. The flow of data is direct and conclusive.
The primary benefit: This policy ensures that, as long as a file transfer isn’t actively in progress (i.e., the progress bar is still on the screen), the data on the drive is in a stable state. You can disconnect the USB drive without going through the “Safely Remove” procedure without a high risk of data corruption.
This is the “plug-and-play” ideal realized—a system that protects your files even if you forget the old ritual. This mode is perfect for the majority of users who are transferring documents, photos, or other relatively small files.
Better Performance: Optimal Speed with a Caveat
While “Quick Removal” is the new default, the classic, performance-oriented method still exists for those who need it. The “Better Performance” mode is designed for users who prioritize raw data transfer speed above all else.
How it works: This setting enables write caching, functioning exactly as it did in older versions of Windows. The system uses your computer’s RAM as a temporary buffer to collect data before writing it to the USB drive in a more optimized, efficient batch.
The primary benefit: This can result in noticeably faster transfer speeds, especially when dealing with very large files (like 4K video footage or large software installers) or when transferring thousands of small files at once. By caching the operations, the system can manage the transfer more effectively.
The crucial caveat: This speed comes with the original responsibility. If you enable “Better Performance,” you must use the “Safely Remove Hardware” procedure every single time. Failing to do so carries the same risk of data corruption and file loss as it did a decade ago, as you might be unplugging the drive before the system has had a chance to flush the cache.
Practical Advice for Melbourne’s Tech Users
So, with this knowledge, how should you proceed? The choice depends entirely on your workflow and priorities.

How To Choose The Right USB Policy For You
Our extensive experience serving Melbourne’s diverse tech community—from students at RMIT to professionals in the CBD—suggests that the performance gains from “Better Performance” are often negligible for everyday tasks.
For the Power User: If you are a creative professional, a videographer, a data scientist, or an IT specialist who regularly transfers massive files, the speed boost from “Better Performance” might be valuable to your workflow. If every second counts during a large data backup or video file transfer, it’s worth considering this mode—as long as you commit to the habit of safely ejecting every time.
For the Everyday User: If you use USB drives for moving documents between home and work, submitting university assignments, or sharing photos with family, the default “Quick Removal” mode is your best choice. The convenience and peace of mind it offers far outweigh the slight, often imperceptible, performance trade-off.
How to Check and Change Your USB Policy in Windows
Curious about which policy your device is using or want to change it? Windows makes it easy. Here’s a step-by-step guide:
Click “OK” to save your changes.
Connect your USB drive to the computer.
Open Disk Management. The easiest way is to right-click on the Start button and select “Disk Management” from the menu.
Locate your USB drive in the list of disks at the bottom of the window. It will be labeled as a removable disk (e.g., “Disk 1,” “Disk 2”).
Right-click on the disk’s label (on the left, where it says “Disk 1,” not on the partition itself) and select “Properties.”
In the Properties window, navigate to the “Policies” tab.
Here you will see the two options: “Quick removal (default)” and “Better performance.” You can select the one that best suits your needs.
Embracing the New Norm
At Mr IT, our goal is to empower our clients with the knowledge to navigate the modern digital world safely and efficiently. The evolution of how Windows handles external storage is a perfect example of how technology is constantly improving to become more intuitive and secure. The old fears surrounding USB removal have been largely mitigated by smart design.
For the vast majority of Melbourne’s residents, you can embrace this new convenience. You can confidently remove USB sticks and portable hard drives from your computer without the formal ejection process, provided you are certain that no data is actively being written. The golden rule remains: always wait for any file transfer to be 100% complete.
However, for those who prefer an extra layer of precaution or for those who opt for the “Better Performance” setting, the “Safely Remove Hardware” feature remains a valuable and necessary tool. The choice is now yours, and it can be tailored to your specific needs.
Our commitment is to stay ahead of these technological trends, ensuring we provide the most accurate, relevant, and helpful advice to our community. Technology should work for you, not against you, and understanding these small but significant changes is key to a seamless digital life.